Whale Watching Photography Guide: Capturing the Giants of the Sea
Embarking on a whale watching adventure offers a unique opportunity to capture the majestic beauty of these gentle giants in their natural habitat. While whale photography can be a challenging endeavor due to their unpredictable nature and often harsh shooting conditions, with patience and the right techniques, you can take stunning photographs that truly encapsulate the essence of these marine mammals.
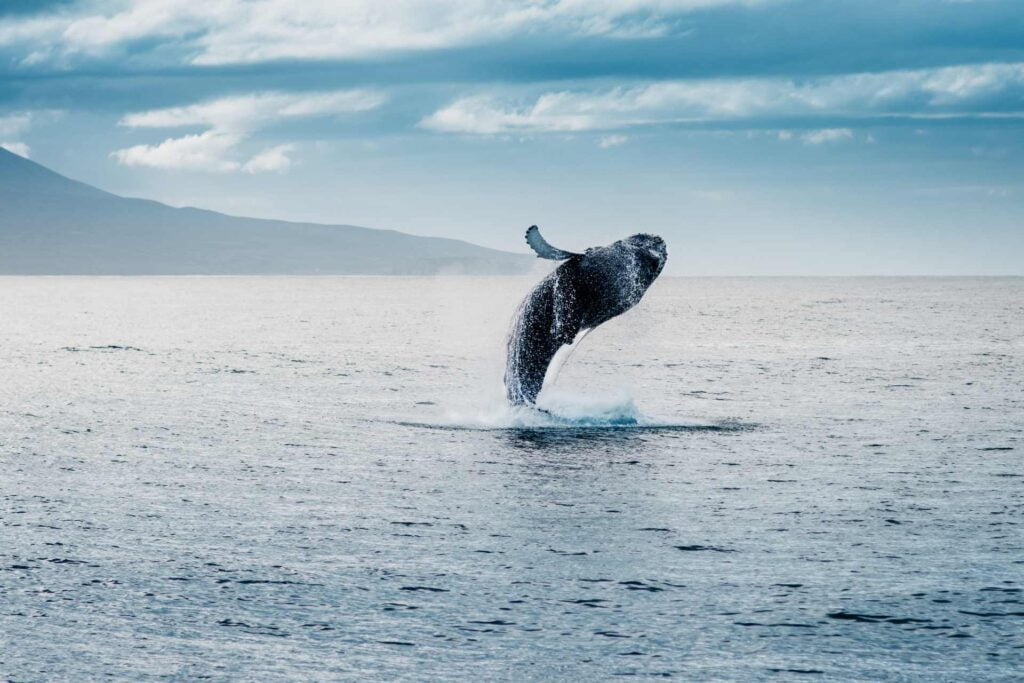
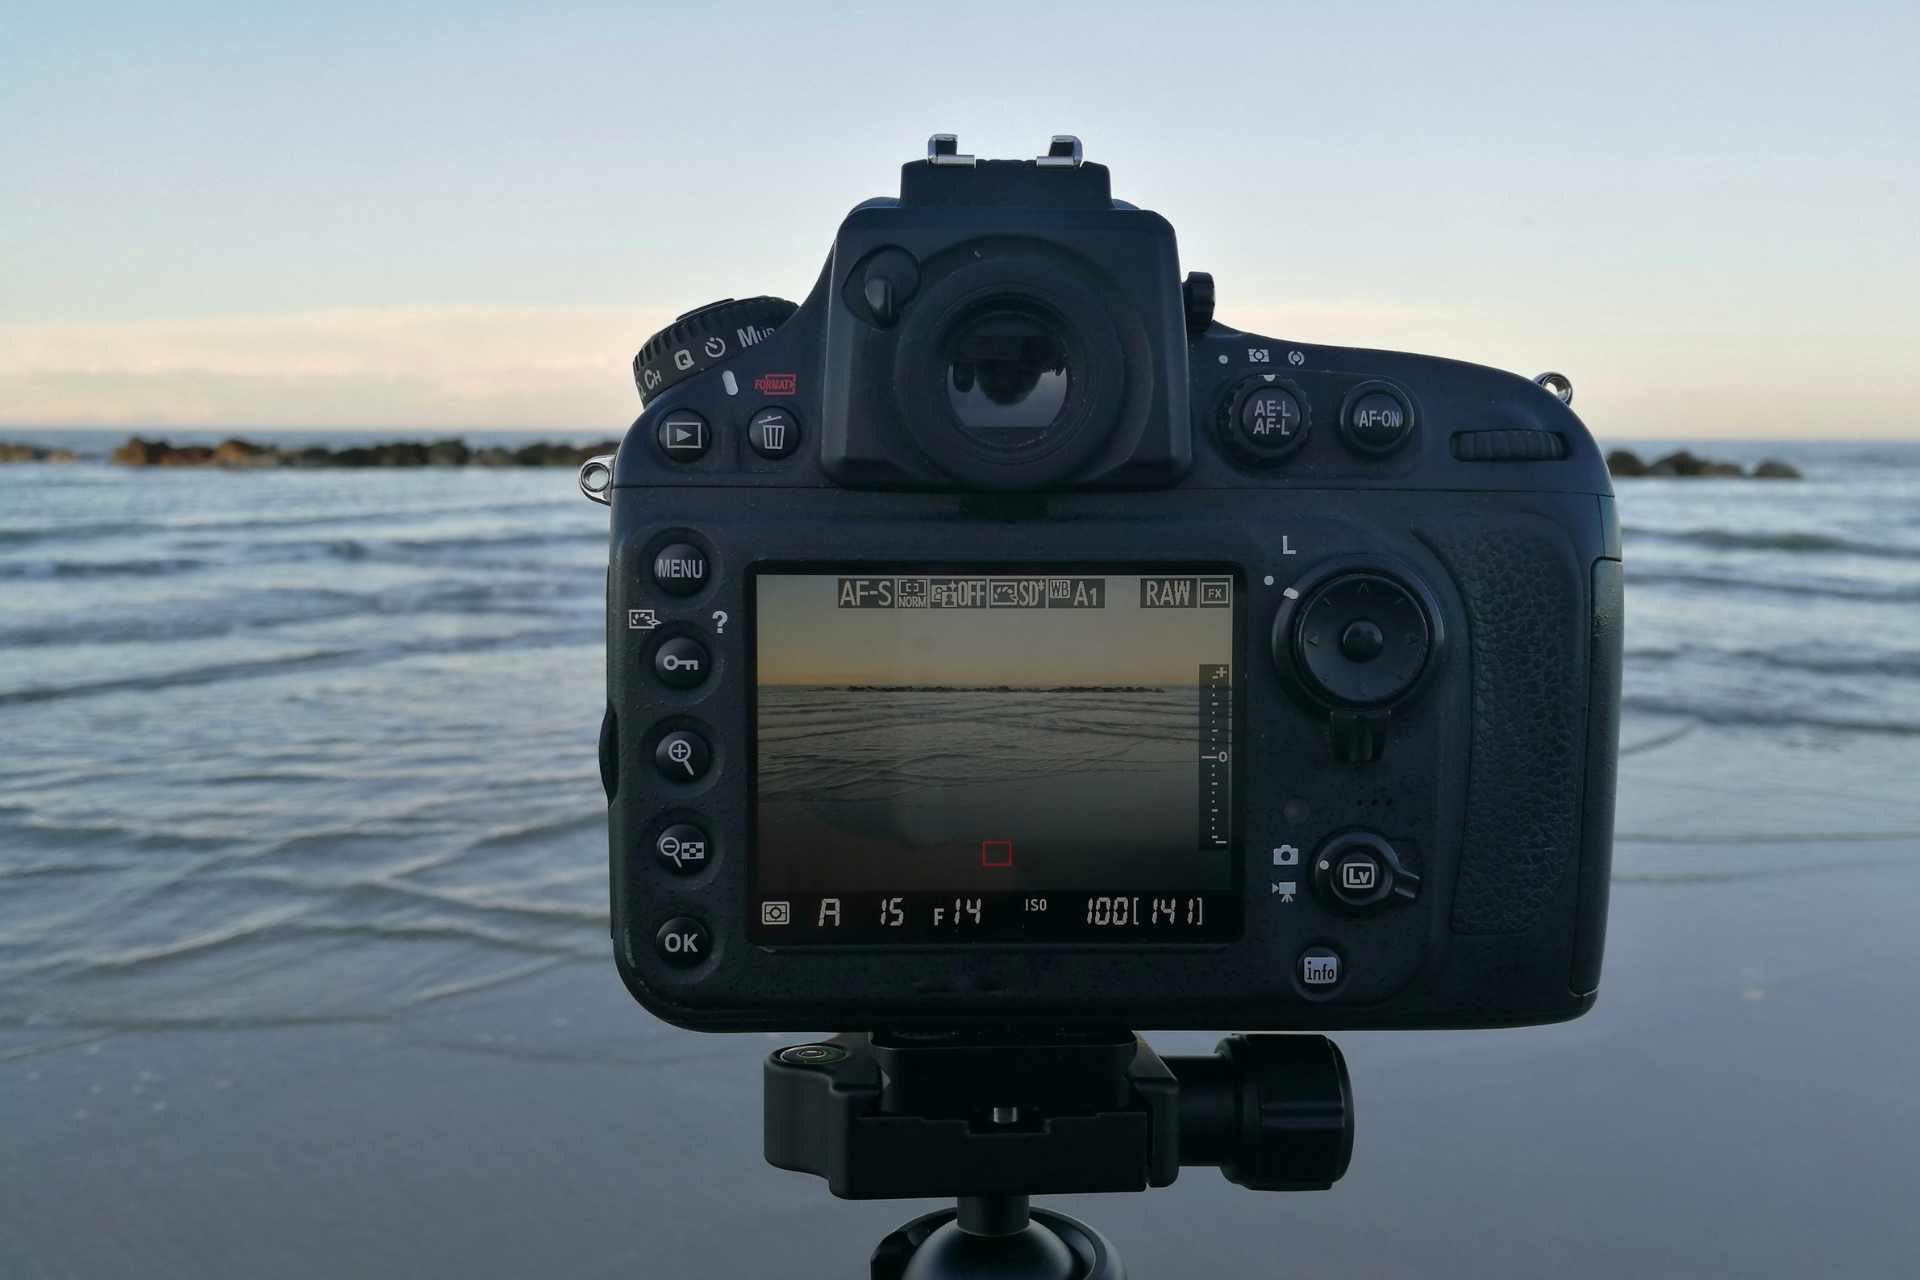
Understanding the importance of suitable photography equipment cannot be overstated when it comes to whale watching. Utilizing a camera that allows for manual settings and interchangeable lenses, like a DSLR or mirrorless camera, can greatly enhance your ability to adjust to the variable conditions you’ll encounter at sea.
Lastly, it’s critical to be informed about whale behavior and the environment in which you’ll be photographing. This knowledge not only ensures you’re prepared to capture those fleeting moments when a whale breaches or displays other natural behaviors but also helps you practice responsible wildlife photography, respecting these incredible creatures and their ocean home.
Choosing the Right Equipment
Selecting the proper gear is crucial for capturing stunning whale-watching images. You’ll need a reliable camera, the right lenses, and support equipment to handle the unique conditions at sea.
Camera Selection
Your choice in a camera is foundational for whale watching photography. A Digital Single-Lens Reflex (DSLR) provides high-quality images and flexibility with settings. Alternatively, mirrorless cameras offer a lighter, more compact option with similar image quality and lens choices. Ensuring your camera has a responsive autofocus and high frame rate will be beneficial for capturing whales in motion.
Lenses and Focal Length
Investing in a quality lens can greatly impact the clarity and detail of your photos. A telephoto lens is ideal for whale watching, providing a focal length of at least 300mm to close the distance between you and the whales without disturbing them. A zoom lens with a range of 100mm to 400mm offers versatility, enabling you to adapt to whales’ unpredictable movements quickly.
Support: Tripods and Monopods
Stabilizing your camera is key to reducing motion blur, especially on a moving boat. A sturdy tripod is suitable for use on land, giving you a stable platform. On a rocking boat, consider a monopod for greater mobility and stabilization, helping you maintain focus and sharpness in your shots.
Camera Settings for Whale Watching
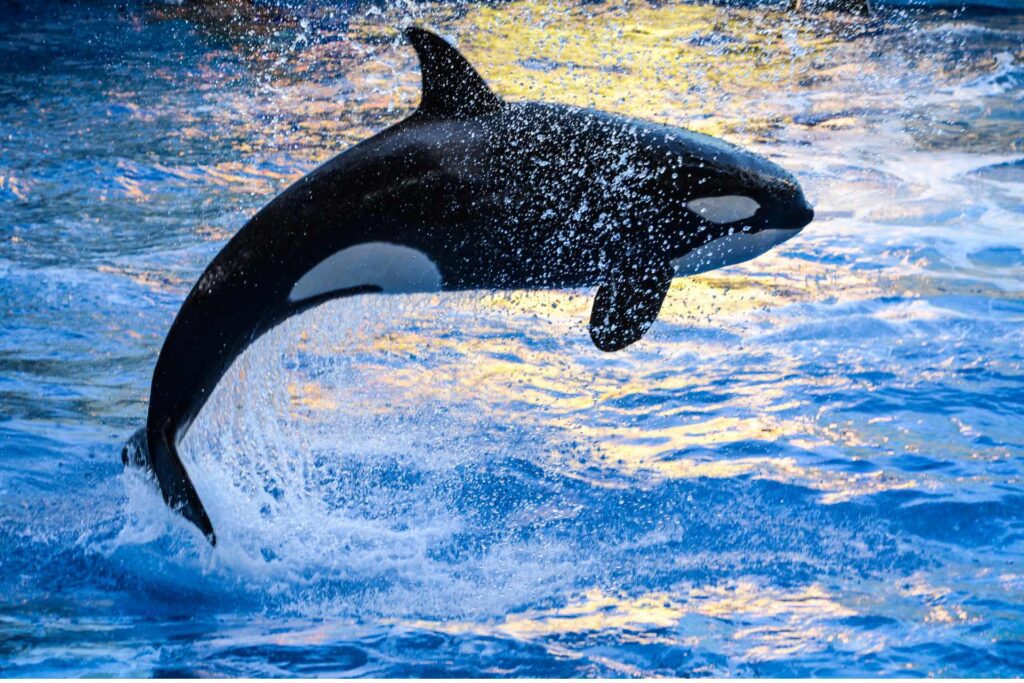

When embarking on a whale-watching photography adventure, it’s crucial to adjust your camera settings for dynamic ocean conditions and the swift movements of whales. A proper grasp of shutter speed, ISO, exposure, focus, and depth of field will greatly enhance your chances of capturing stunning images.
Understanding Shutter Speed
Whale watching often requires a fast shutter speed to freeze the action, especially when a whale breaches. A good benchmark is starting at a shutter speed of 1/1000th of a second. However, if you’re on a moving boat, consider using even faster speeds to compensate for additional motion.
Mastering ISO and Exposure
The ISO setting should be as low as possible to reduce grain, ideally around ISO 100 to 400. But if you need a faster shutter speed and the lighting conditions are not ideal, don’t hesitate to go higher. Use aperture priority mode to maintain control over depth of field while the camera automatically adjusts the shutter speed for proper exposure.
Focus and Depth of Field
Set your camera to autofocus (AF) with a continuous or AI servo mode to track the moving subjects effectively. For depth of field, use a smaller aperture (higher f-stop number) to keep both the whale and its surroundings in focus. However, if light is low, you may need to widen the aperture (lower f-stop number) and balance with ISO adjustments to ensure a fast enough shutter speed for sharp images.
Whale Watching Basics
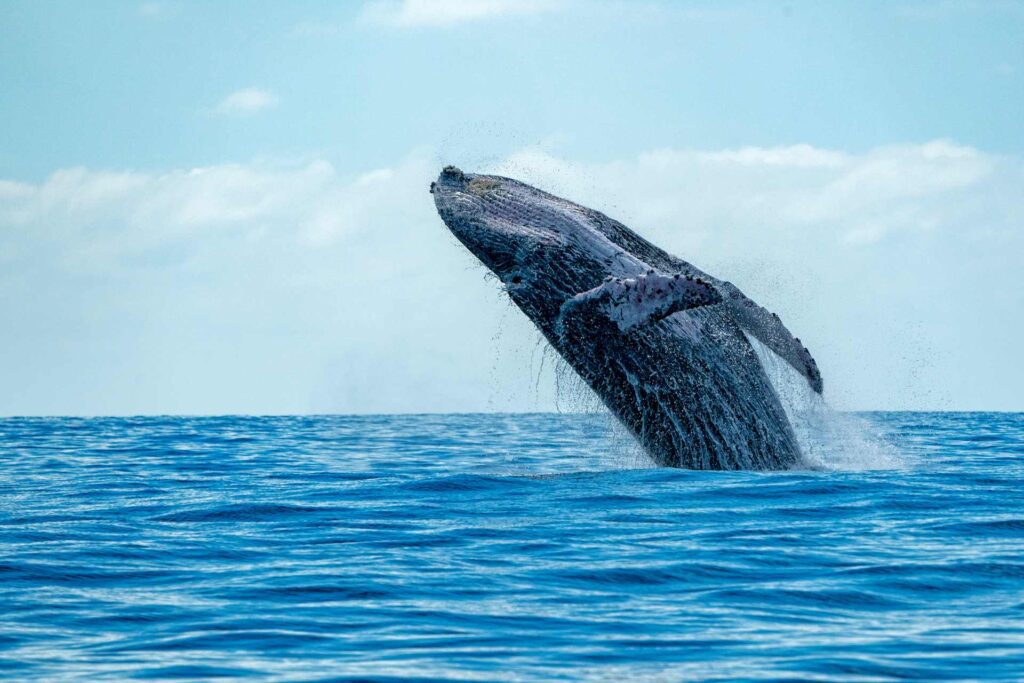
Before heading out into the waters, it’s important for you to know when and where to go, and to understand the behavior of whales. This foundational knowledge can make your whale watching experience much more rewarding.
Best Times and Locations
The prime whale watching season varies according to the specific location. For instance, if you’re hoping to catch sight of humpback whales, they’re commonly seen in the warm waters of Hawaii from December to April, and in places like Alaska during the summer months from June to August.
- Alaska: June - August
- Hawaii: December - April
- East Coast (USA): Spring and Fall
Rich feeding grounds attract whales, making areas such as the nutrient-rich waters of the Stellwagen Bank off the coast of Massachusetts a hot spot. Similarly, the cold currents along the coast of Monterey Bay, California, provide excellent viewing opportunities.
Understanding Whale Behavior
Grasping the nuances of whale behavior can enhance your chances of spotting these ocean giants. Humpback whales are known for their acrobatic displays, such as breaching and tail slapping. Recognize that their time on the ocean’s surface can be brief, so staying alert and patient is crucial. Here are some behaviors you might witness:
- Breaching: A whale propels its body out of the water.
- Tail Slapping: Whales slap the surface with their tails, possibly to communicate.
- Spouting: Visible exhaling which can help locate whales from a distance.
Remember, whales are wild animals and their appearances are not guaranteed. Spend time in areas where they are known to frequent during the appropriate season, and your chances of a memorable encounter will significantly increase.
Photography Techniques on the Water
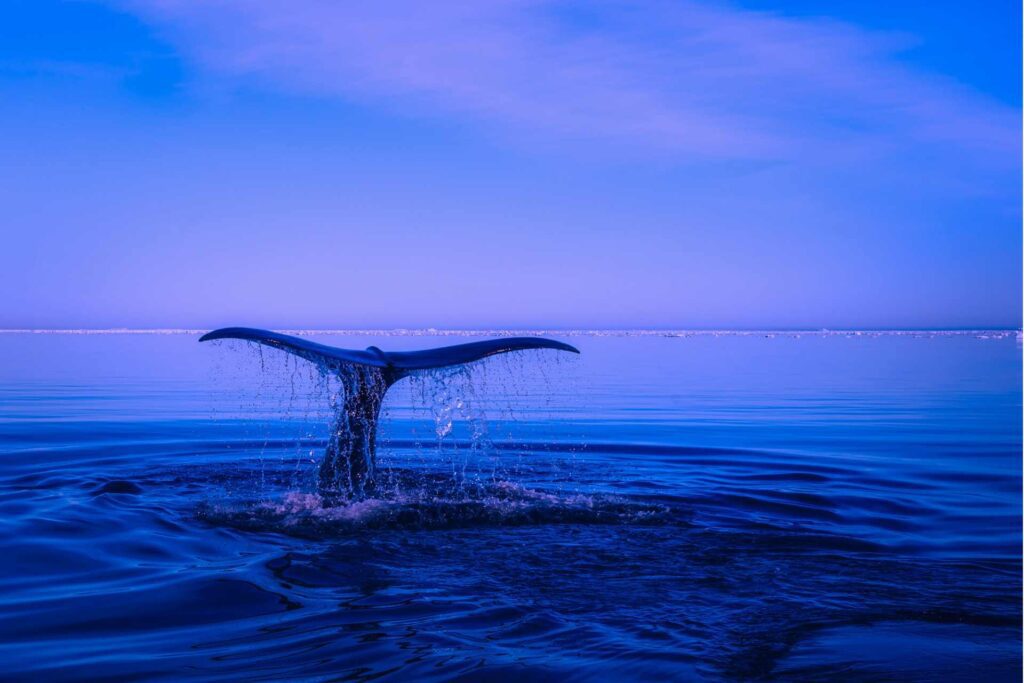
When embarking on the task of photographing whales, it is crucial to understand the importance of equipment stabilization, strategic composition, and the ability to capture swift action from the unsteady platform of a boat.
Stabilizing Your Shot
To counteract the boat’s motion, you’ll need to stabilize your camera to avoid blurry images. Use a fast shutter speed and consider engaging image stabilization if your camera has this feature. When available, activate burst mode or continuous shooting to increase your chances of a sharp image by taking several shots in quick succession. A monopod can also provide stability without the cumbersome setup of a tripod.
Composition and Framing
Apply the rule of thirds to compose your shots with the horizon placed along one of the horizontal grid lines in your camera’s viewfinder. This approach aids in creating a balanced and compelling image. Keep your framing loose to account for sudden movements; you can always crop for tighter composition in post-processing.
Capturing Action Shots
Timing is everything when capturing whales breaching or engaging in other surface behaviors. Anticipate the action by observing the whales’ behavior patterns and ready yourself to shoot swiftly. Using a camera with a fast autofocus system helps you stay responsive to these quick moments. Remember, continuous focus mode is your ally in tracking moving subjects like active whales.
Light and Weather Conditions
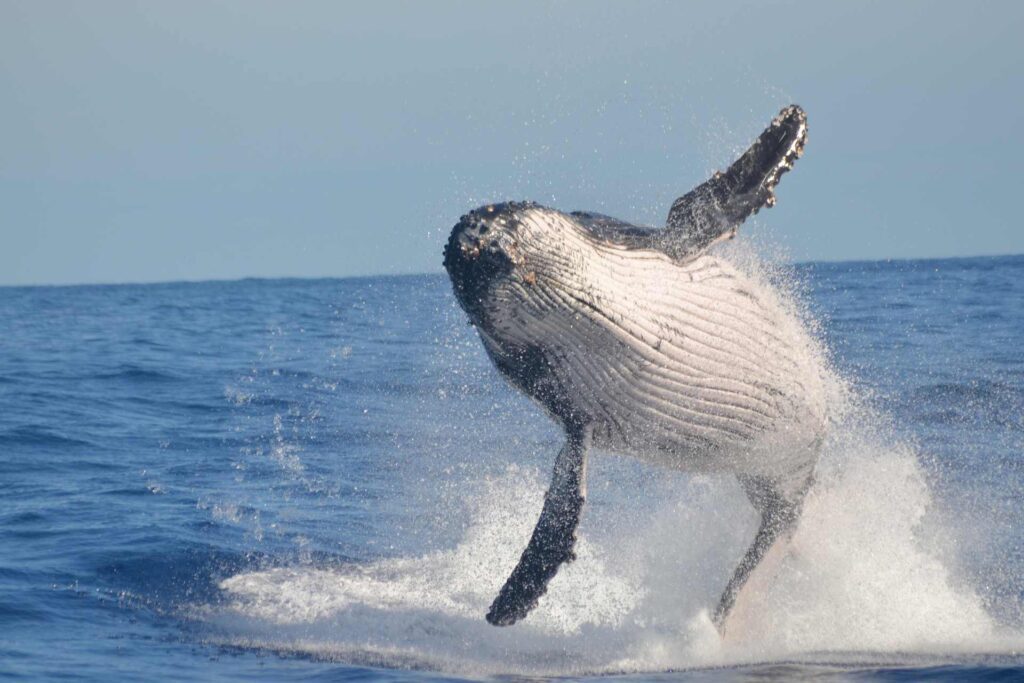
When engaging in whale-watching photography, understanding and using light to your advantage can be the difference between a good photo and a great one. Weather conditions also play a substantial role in both the behavior of the whales and the quality of your shots.
Dealing with Low Light
In low light conditions, such as at dawn or dusk, you need to balance the ISO, aperture, and shutter speed to capture clear images without too much noise. A higher ISO will help you shoot in lower light, but it’s important not to go so high that your photos become grainy. Opt for the widest aperture your lens offers to allow the maximum amount of light to hit the sensor, and consider using a tripod to stabilize your camera during longer exposures.
Utilizing Natural Light
The golden hours of sunrise and sunset provide some of the most beautiful natural lighting for whale photography, with the sun’s low angle creating dramatic shadows and highlights. Position yourself with the sun behind you to illuminate the whale’s blow or to capture the glint of the sun on the water. Work quickly during these times, as the perfect lighting conditions can be fleeting.
Photography in Varying Weather
Weather conditions can affect your photography session. On overcast days, light is diffused, which can help to avoid harsh shadows and can bring out the colors of the whale and the water. Sunny days might introduce challenges with reflections and water spray; using a polarizing filter can reduce glare and enhance the contrast between the whale and its surroundings. Always protect your camera from the elements with weather sealing or a protective cover when shooting in unpredictable weather.
Safety and Ethical Practices
When venturing into the world of whale-watching photography, your top priorities should be safety and adherence to ethical guidelines. This ensures the welfare of the whales and a sustainable opportunity for photographers like yourself to capture their beauty.
Maintaining a Safe Distance
Always keep a respectful distance from the whales. According to guidelines, staying at least 100 yards away is crucial. This safe distance prevents stress and disruption to the whales’ natural behaviors. Remember, as a photographer, your aim is to observe without interference.
Respecting Wildlife and Regulations
Adhering to regulations is not just a legal obligation but a moral one. It is important to familiarize yourself with local laws, which often dictate specific guidelines for interacting with wildlife. Regulations are there to protect wild animals, and it is your responsibility to know and follow them. Avoid any actions that could potentially harass or endanger the whales, and always operate your photography equipment in a manner that is considerate of the animal’s well-being.
Essential Accessories
To capture the grandeur of whales in their natural habitat, you’ll need more than just your camera. Equipping yourself with the right accessories can greatly enhance the clarity and quality of your images.
Choosing Filters for Clarity
When photographing whales, the quality of light can vary significantly. Using a polarizing filter is essential to cut through the glare on the water’s surface, allowing you to capture the depths and details beneath. It’s also helpful in enriching the blues of the sea and the sky, making your photographs more vibrant.
- Circular Polarising Filter (CPL): Ideal for reducing reflections and enhancing color contrast.
- Neutral Density (ND) Filter: Useful for achieving a slower shutter speed in bright conditions.
Linking to your equipment, a filter should match the size of your lens and be easily adjustable, especially when dealing with dynamic lighting conditions and moving subjects like whales.
Memory Storage Solutions
The key to not missing any action while whale watching is to have ample memory storage and a fast buffer. Whales can be unpredictable, and a high-capacity, high-speed memory card ensures you’re ready to capture that breach or tail slap as it happens.
- Memory Card Capacity: 32GB or higher is recommended for extended shooting sessions.
- Buffer Size: A larger buffer allows for continuous shooting without interruption.
Remember, your equipment choices can make or break your whale-watching photography experience. Prioritize durability and compatibility with your camera when selecting these accessories.
Whale Identification Tips
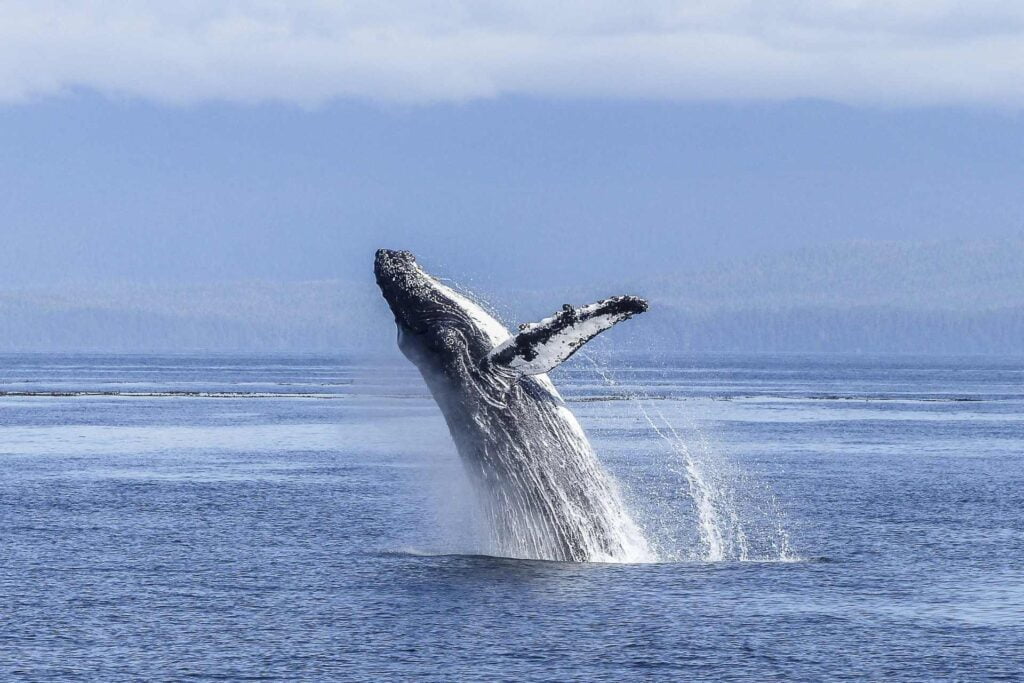
When photographing whales, your ability to identify different species and their distinctive features is crucial to understand and convey in your imagery.
Recognizing Whale Species
You can identify humpback whales by their long pectoral fins and knobbly head. These features are specific to humpback whales and can help distinguish them from other species you might encounter. On the other hand, dolphins have a more streamlined shape and display different behaviors, such as playful acrobatics and staying in pods, which can aid identification.
Identifying Distinctive Features
Tail: The tail, or fluke, is key in identifying individual humpback whales. Pay attention to the white markings on the underside of the whale flukes, which are unique to fingerprints.
- Flukes: Look for the shape and edge of the flukes. Humpback whale flukes have a distinct serrated trailing edge and can span up to 18 feet wide. Each whale’s fluke pattern is unique, with different colorations that are crucial for individual identification.
Observing and photographing these characteristics requires patience and a bit of practice, but it adds a rich layer of context to your whale photography.
Post-Processing Techniques
After capturing the majestic beauty of whales with your camera, post-processing can elevate your photographs from good to stunning. These techniques allow you to fine-tune and organize your images to maximize their impact.
Editing for Impact
Adjust Exposure and Contrast: Ensure your whale photographs pop by fine-tuning the exposure. If your photo is underexposed, you can increase the brightness but do so sparingly to avoid noise. Balanced contrast can bring out the textures and layers in the water and the whale’s skin.
Color Correction: Calibrate the colors to reflect the true hues of the marine environment. A cooler color temperature often works well for sea photographs, as it can enhance the blues and greens of the ocean.
Sharpening: Apply sharpening to bring out the details, especially the intricate spray of water as a whale breaches. Be cautious not to overdo it, which can introduce unwanted graininess.
Cropping for Composition: Sometimes the action happens so fast you don’t get the perfect composition in-camera. Cropping can help in aligning with the Rule of Thirds or focusing more on the whale. Remember, each crop impacts the final resolution of your photograph.
Organizing Your Whale Photography
File Naming: Start by creating a clear and consistent file naming system. This could include the date of the trip and a sequence number (e.g., ‘Whale_20240203_01’).
Cataloging: Use photo management software to catalog your images. Tagging your photos with keywords like ‘whale’, ‘breaching’, or ‘tail slapping’ makes them easier to retrieve for future use.
Back-up Practices: Your whale photographs are valuable; ensure you back them up in multiple locations. An external hard drive and cloud storage can safeguard your work against loss or damage.
By refining your post-processing practice, you can enhance the visual impact of your whale watching experience. Regularly employ these skills, and your whale photographs will stand out in both quality and artistry.
Tips for Beginners
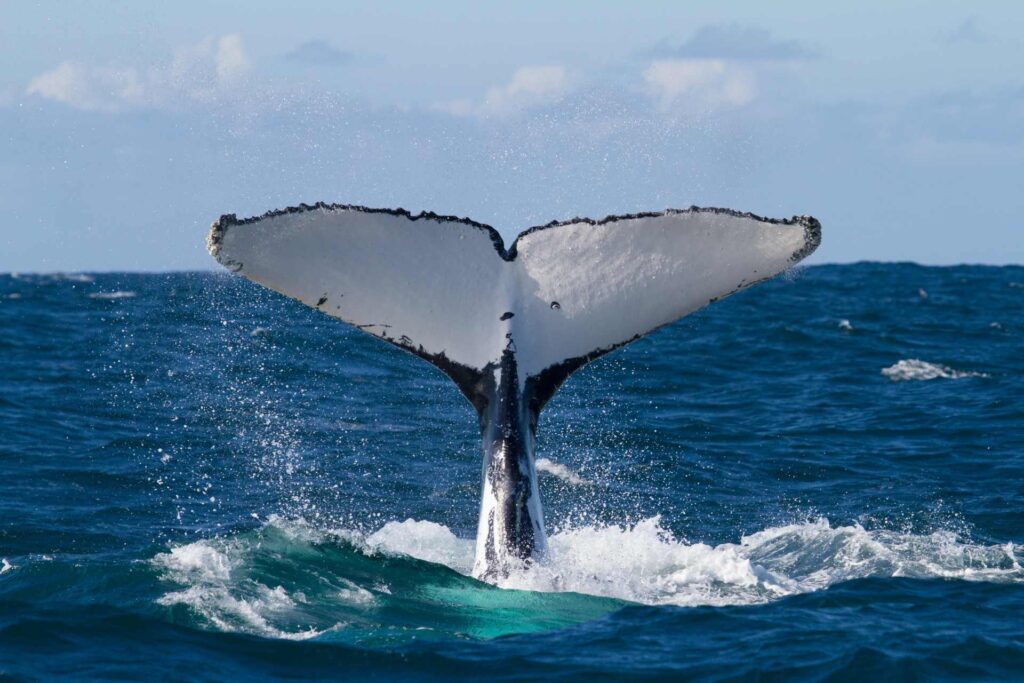
Whale-watching photography can be an incredibly rewarding experience, provided you start with a good understanding of the basics and use reliable gear that suits your level of expertise.
Learning the Basics
When you’re new to whale-watching photography, your primary focus should be on understanding whale behavior and the ocean environment. Weather conditions, sea states, and the whales’ patterns—such as breaching and fluking—greatly affect your photo opportunities. It’s crucial to anticipate these actions for the best shots, and often, patience is key.
Camera settings are also essential. For example, using a fast shutter speed can help freeze the motion of a quickly breaching whale. Begin by setting your camera at a higher ISO if you’re dealing with low light conditions early in the morning or late in the afternoon. Start with shutter speed priorities on your camera to adjust the other settings automatically based on this priority, allowing you to capture clear images without motion blur.
Starting with Simple Gear
You don’t need the most advanced equipment to start taking photos of whales. A decent point-and-shoot camera or even a smartphone with a good camera can suffice if you’re just beginning. If using a smartphone, focus on the timing of the shot and learning to quickly and efficiently use your camera app’s zoom and exposure features.
For those with a point-and-shoot camera, familiarize yourself with features like optical zoom and image stabilization, which can be very helpful when on a moving boat. Remember, protection from the elements is important, so keep your gear safe from seawater and invest in a waterproof case or bag.
Starting with simpler gear means you can focus more on the experience and less on managing complicated equipment settings. As your skills and passion grow, so can your investment in more sophisticated photography gear.
Advanced Photography Strategies
Incorporating advanced photography strategies elevates your results when pursuing the elusive perfect shot of marine wildlife. The techniques discussed here focus on leveraging your camera’s features and experimenting with creative approaches to enhance your whale-watching photography.
Leveraging Continuous Shooting Modes
By utilizing continuous shooting mode, you capture a rapid sequence of images, which is essential when dealing with the unpredictability of whales. Time is of the essence, and this mode ensures you don’t miss a split-second of action. You should ensure that your continuous autofocus (AF-C) is also active, which works in tandem with continuous shooting to adjust focus between each shot, maintaining clarity even as whales move through the water.
Experimental Photography Tactics
Look beyond traditional methods and explore experimental photography tactics. This might include playing with light and shadows or introducing motion blur to convey the dynamic environment. Use long lenses to isolate subjects and compress distance, which can bring a dramatic focus on the whale, while also maintaining a safe and respectful distance. Remember, experimenting can lead to extraordinary results, so don’t hesitate to try different settings, angles, and compositions.
Frequently Asked Questions
Gain insight into enhancing your whale watching photography experience with these specific, actionable tips addressing common inquiries.
How can I prepare for a whale watching photography trip?
To prepare, ensure your camera equipment is ready and familiarize yourself with settings that suit rapidly changing conditions. Pack additional gear like batteries, memory cards, and protective cases to handle the marine environment.
What are the optimal camera settings for capturing whale photos?
For sharp images, use a fast shutter speed to freeze motion, an aperture that ensures sufficient depth of field, and an ISO that minimizes noise yet allows quick exposures. Prioritize shutter priority or manual mode for greater control.
Which polarizing filters are recommended for whale watching photography?
Circular polarizing filters are recommended as they reduce glare on the water surface, enhance contrast, and improve the color of the sky and ocean, leading to more vivid whale photographs.
What are the best Canon lenses to use when photographing whales?
For Canon cameras, lenses like the EF 70-200mm f/2.8L are excellent for their sharpness and versatility. A lens with a range up to 400mm can be beneficial for capturing distant breaches.
What should be the ideal focal length for lenses used in whale photography?
An ideal focal length ranges from 70mm for closer subjects to 300mm or greater for distant whales. This range provides both wide shots and detailed close-ups.
How should I set up my GoPro for high-quality whale-watching footage?
Set your GoPro to a high frame rate, such as 60fps or higher, to capture smooth, slow-motion footage. Use a resolution of 1080p for a balance of quality and file size, and secure it with a stabilizing mount.

